
You know that moment when you pop a print off the bed and it's almost perfect? The model looks great, the details are crisp, but there's that ugly brim residue, a few strings, and sharp edges where supports used to be. You could sand it. You could pick at it with your fingernails. Or you could do what I do now—grab a deburring tool and clean it up in seconds.
This is one of those tools I wish someone had told me about when I started 3D printing. It's cheap, it's simple, and it makes an immediate difference in how your prints look and feel.
What Is a Deburring Tool?
Originally designed for metalworking and plumbing, a deburring tool is a handled blade that swivels to follow contours while shaving off raised edges, burrs, and imperfections. The blade rotates in its housing, so it naturally follows curves and irregular surfaces without gouging.
For 3D printing, it's absolutely perfect. The same properties that make it great for cleaning pipe edges make it ideal for removing brim remnants, support marks, layer lines on edges, and any rough spots left behind by your print process.
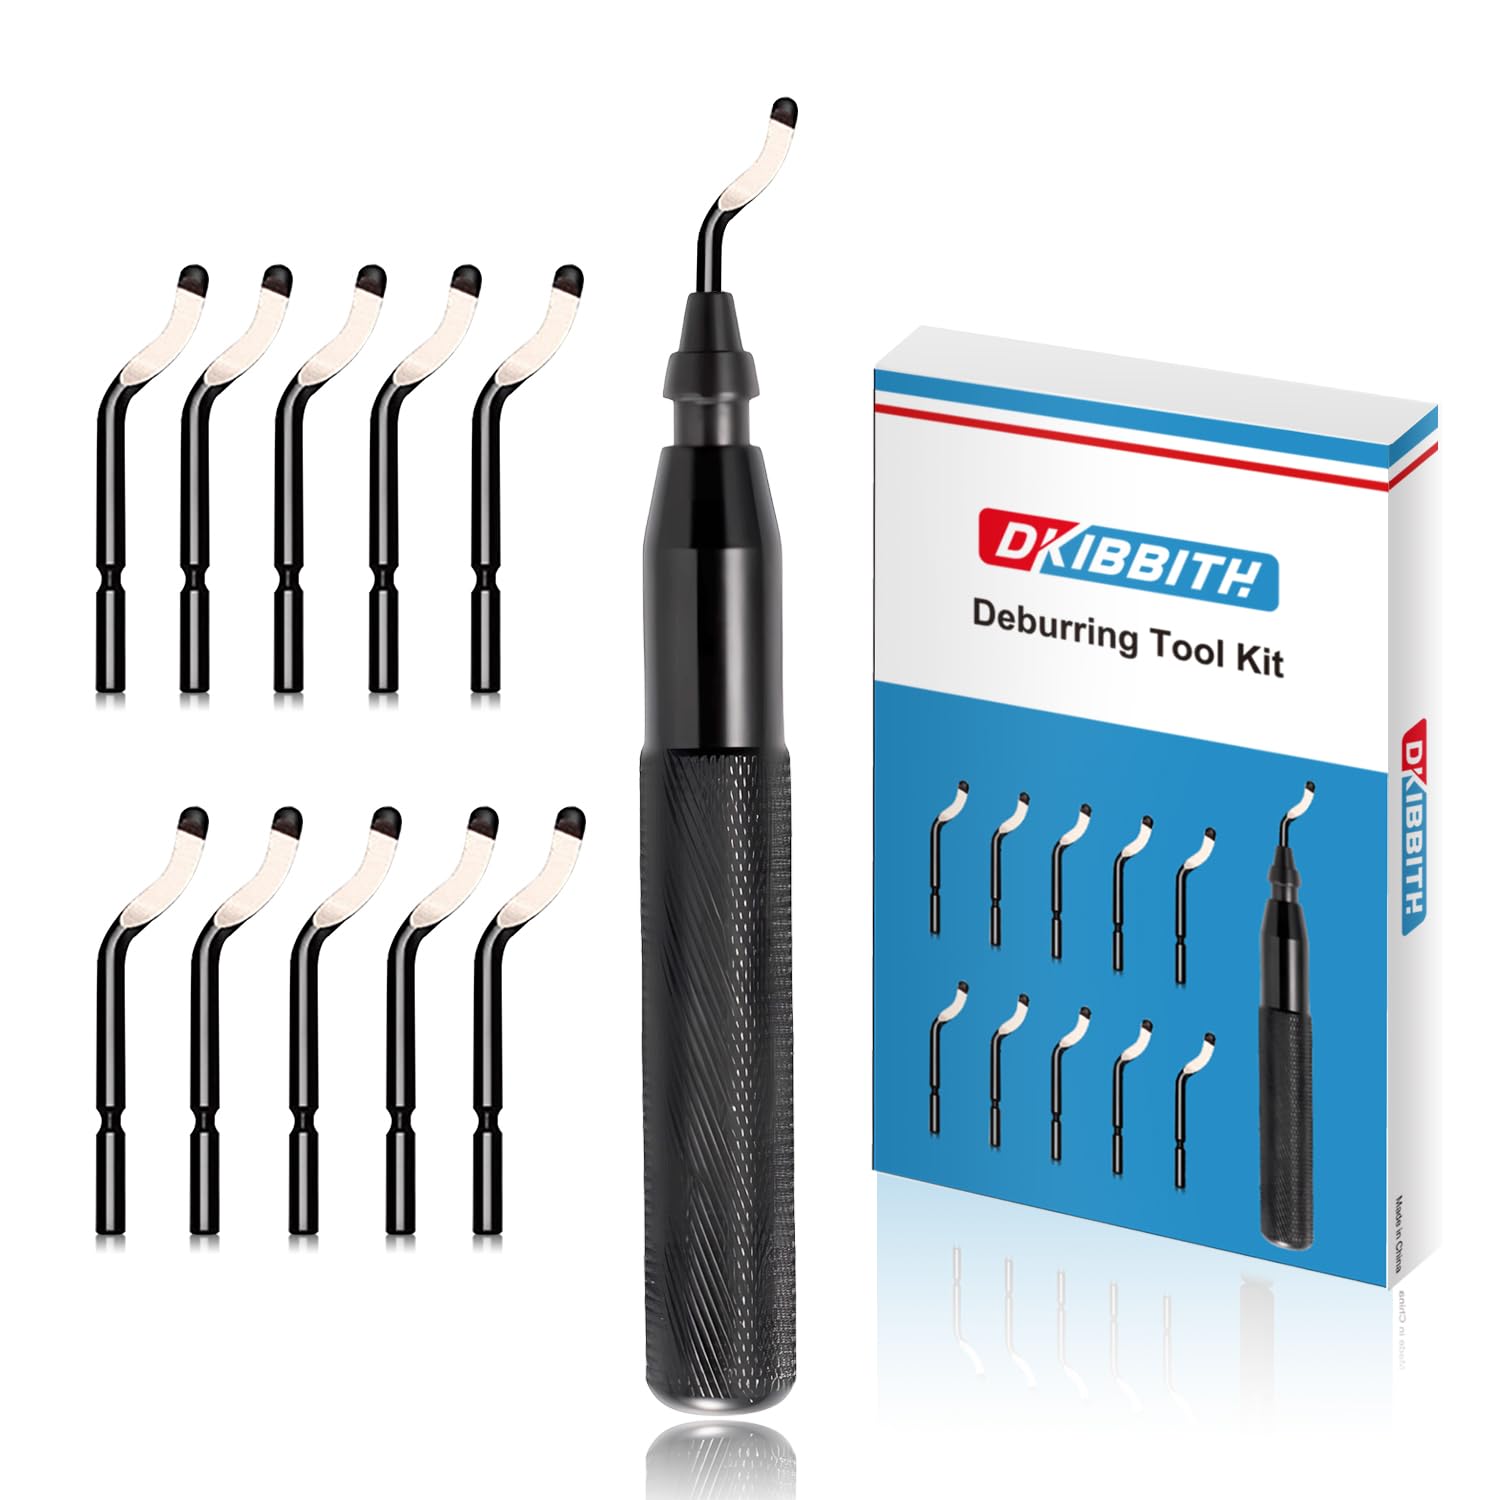
Why I Use the DKIBBITH Deburring Set
The DKIBBITH deburring tool set comes with 11 HSS (high-speed steel) swivel blades, which is way more than you'll need for a long time. Here's what I like about it:
The blades are actually sharp. Some cheaper deburring tools come with blades that are dull out of the box. These have ultra-sharp edges that slice through PLA, PETG, and even resin print remnants without any real effort.
Multiple thickness options. The blades come in different thicknesses (0.01" to 0.04"), color-coded for quick identification. Thinner blades are great for delicate work on detailed prints; thicker blades handle tougher materials and bigger burrs.
They last. The high-carbon steel with heat treatment means these blades hold their edge significantly longer than standard blades. The rust-resistant coating is a nice touch too—my workshop gets humid in summer, and I've had tools corrode before.
Swapping blades takes seconds. Pre-drilled holes mean you pop the old blade out and the new one in without any tools. When you're in the middle of a project, this matters more than you'd think.
My 3D Printing Deburring Workflow
Here's how I incorporate the deburring tool into my post-processing:
Brim Removal
On some projects I print with brims enabled for better bed adhesion. The downside? That ridge of extra plastic around the base of every print. I used to peel it off and then sand the edge smooth. Now I peel it off, run the deburring tool around the perimeter once, and I'm done. The swivel blade follows the contour of the print and shaves off any remaining brim material flush with the surface.
Support Cleanup
Tree supports and regular supports both leave marks. After breaking away the bulk of the support material, I use the deburring tool to clean up the nubs and rough patches left behind on the edges of my prints. The blade is especially good at getting into the little valleys and recesses where supports attached.
First Layer Elephant Foot
If your first layer squishes out a bit (elephant foot), the deburring tool cleans up that edge quickly. One pass around the bottom perimeter and the print sits flush again.
Smoothing Sharp Edges
Layer lines can leave the edges of prints feeling rough or sharp. A light pass with the deburring blade chamfers those edges slightly, making prints more comfortable to handle and giving them a more finished appearance.
Hole Cleanup
Printed holes often have slight ridges or inward bumps from the layer transitions. The deburring tool cleans these up so that hardware fits properly.
Tips for Deburring 3D Prints
Light pressure wins. Let the blade do the work. Pressing too hard can gouge the plastic.
Go with the layer lines, not against them. This reduces the chance of the blade catching and digging in.
Use thinner blades for detailed areas. The 0.01" blades are great for small parts and fine features.
Keep a few blades handy. While these last a long time, having a fresh blade ready means you're never stuck with a dull one mid-project.
Works on all common filaments. I've used it on PLA, PETG, ABS, TPU (carefully), and resin prints with good results.
Beyond 3D Printing
Once you have a deburring tool set, you'll find other uses for it:
- Laser-cut acrylic – Cleans up melted edges
- CNC projects – Removes machining burrs from aluminum and plastic
- Plumbing – What it was originally designed for
- General shop work – Any time you need to smooth a cut edge
The Bottom Line
A deburring tool won't transform a failed print into a success, but it will transform a good print into a great-looking one. For the minimal cost and space it takes up, it's become an essential part of my post-processing toolkit.
If you're still peeling brims by hand, picking at support remnants with flush cutters, or sanding every edge smooth, do yourself a favor and try a deburring tool. It's one of those "why didn't I get this sooner" purchases.